
I have been watching Andy Tube avidly since buying my 2 vintage sewing machines. Andy teaches vintage sewing machines. This channel is a wealth of information for beginners like me and the way Andy teaches makes it easy for me to learn. I've been studying along his series on a Singer 404 and since most of the parts are similar I was able to follow and do the same on my Singer 301A.

Here is my machine, ready to restore. It doesn't seem too bad does it? I had spent a few hours cleaning it after I purchased it. Just wait!

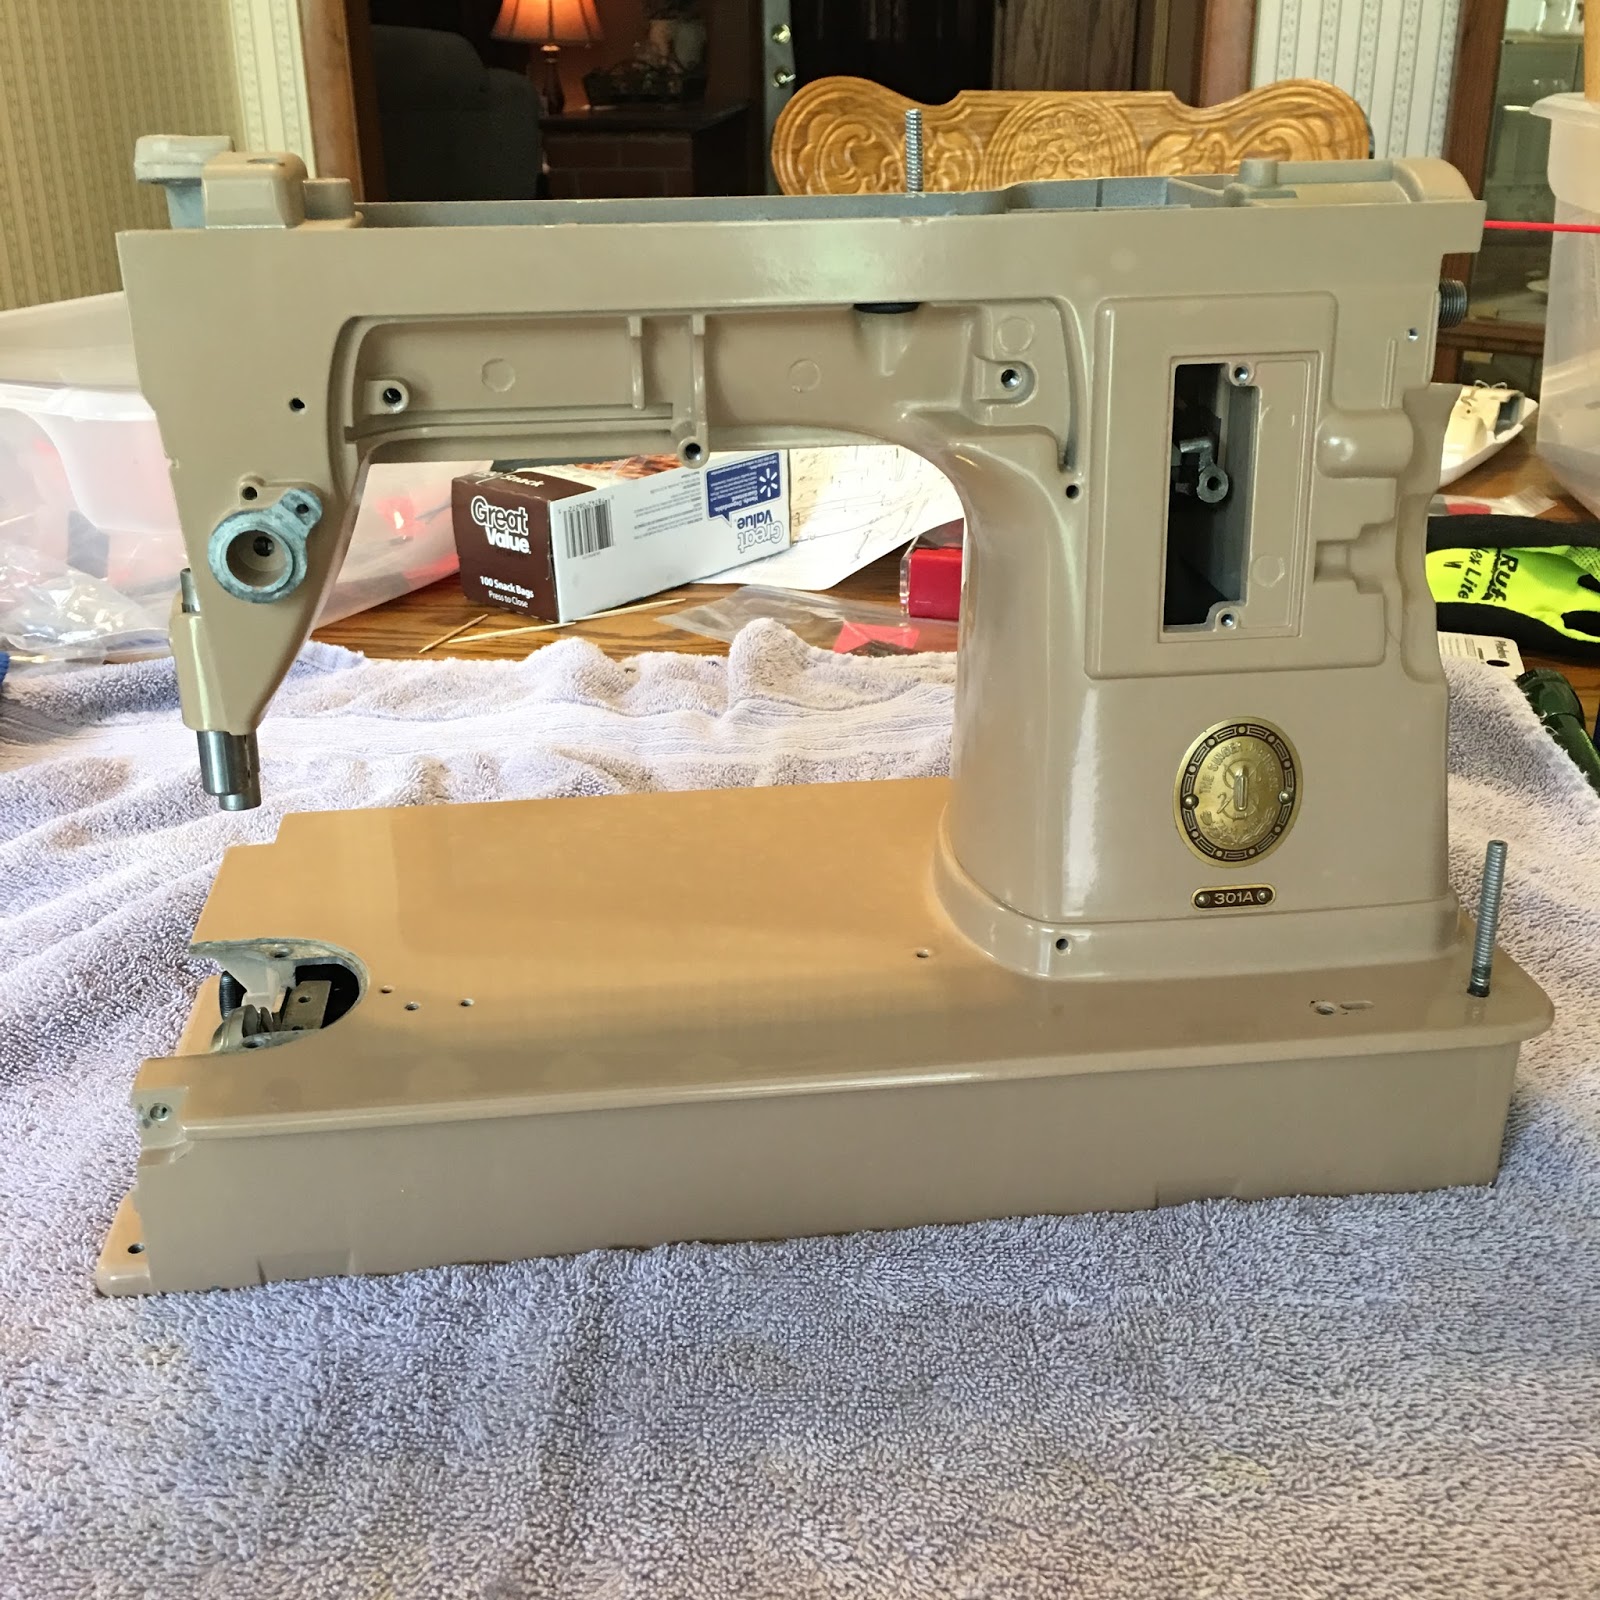
I start taking parts off. Mind you, this isn't willy nilly! Everything that comes off is labeled carefully so I don't get mixed up!

My box of parts started filling up fast. As I took things off they got thoroughly washed with a degreaser and rinsed in water (even the bottom cover with the felt) then carefully dried and buffed with a dremel tool and oiled/greased as needed. The painted parts got many coats of various waxes.

See how filthy and rusty this tension unit was?

There was lots of gunky grease, likely put on at the factory during assembly. This stuff sits and absorbs odors and is sticky beyond reason.

Some parts were the very dickens to remove. I HAD to remove this Needle Clamp to be able to remove the Needle Bar and it took forever! I even emailed Andy to make sure it actually came off and I wasn't trying to remove something that was all one piece. I soaked this in WD40, in degreaser, and in rust remover, and I wiggled until my fingers were sore. No movement. I finally took the hairdryer out, got the part hot and let it cool and it came right off! It was pretty rusty!

Some parts were downright scary to remove! This is the Thread Take Up Lever. All this is what attaches to the Needle Bar and the Needle Bar Crank. THIS MAKES IT SEW AND I TOOK IT OFF!

Lots of grease flung about on the inside. The end of the motor comes up through that empty hole. Seriously, the light and motor were the easiest parts to take off!

Then there were parts like these that gave me quite a scare. First I had trouble removing the lever that attaches to this and panicked, emailed Andy then I figured it out and emailed again saying never mind. So then, I got to fiddling with the little slide block (tiny silver part in the middle) that is still in the machine and it fell off into the body! Oh holy crows! My heart literally stopped! Andy had not mentioned that it came off and I just about came unglued for a few minutes. Then I realised how easy this would be to get it all back together and had quite a laugh.
I also had to tell Andy about how I nearly died taking apart the Feed Regulator...

I don't think this Handwheel has been off since 1956. So much varnished oil! Remember, I had spent hours cleaning this machine already!
Once everything I could take off was off, the machine got taken outside and sprayed inside and out with a degreaser, scrubbed with a toothbrush, rinsed off with a garden hose and got a blow-dry with a leaf blower! I am not kidding!
It came back inside looking like this. I quickly started oiling and greasing gears and doing basic rust prevention.

Oh my, it is so clean!

I was astonished how clean it came. Remember all that grease and oil and dirt? Gone. Along with the stink!

Once everything was clean it was quick work to put it back together. Before I knew it it was done! Every part was sparkling clean. And best of all it sewed!


The machine looks incredible and best of all, between the waxes and the yummy oil (Tri-Flow smells of bananas) no longer smells like an old auto workshop. All the workings are oiled and the gears are greased. The finish is protected with the wax and my material should glide across the bed.
This was the best adventure ever! I had so much fun restoring this machine! This will not be the last machine I will restore. I am planning to do my Rocketeer next and I am constantly searching for any others in my area I could be interested in. If you have read this far you might be as crazy as I am...
Thank you for visiting my blog today!
xox
18 comments:
Very impressive!
Good for you! It's lovely to think these beautiful machines are getting new life!
You did a great job. You should be very happy with yourself. Well done with getting it cleaned and up and sewing...
Sounds like a very worthwhile adventure, congratulations on achieving this and learning new skills.
That is the same model Singer sewing machine I learned to sew on. It was my mom's machine and I sure wish I had it back. Hers sat in a cabinet and the foot pedal stored up in the side so you could sew with using your knee--which is how I learned to sew.
You did a GREAT job-and are a much, much braver person than I am! Well done!!! xo Diana
you are amazing and should be very proud! good for you:)
You are way braver than I am and good for you for it! It looks super!
You don't know how much I enjoyed this post! What a great learning experience that must have been, and now you have an amazing machine! I'm kind of inspired to find an old one of my own and attempt what you did! Wow, great job!
Cathy
Just amazing!!! It looks absolutely beautiful after all of your hard work. Be proud, be very proud!!!!
Very impressive! I'd be terrified!
Oh my goodness! She's a brandy spankin' new show model! :-) That's a lot of attention to detail and so very much worth the efforts! Congrats!
I really enjoyed following your adventure with this restoration! I felt proud of you when you answered your own question about the Feed Regulator before I could even answer your email, and your heat-up/cool down solution for the rusty needle holder was brilliant! It looks absolutely gorgeous. Better than new.
What I remember most about our email conversations is when you said: "In April I had never even touched a vintage sewing machine, and here I am taking parts off like an old hand."
I truly look forward to your next restoration. I hope others are encouraged to give it a try after seeing what you have accomplished.
I am selling my Designer SE and Serger and going back to an older machine. You have got me really excited about doing this!!! I have my 7th grade Sears Kenmore that runs like a champ (at my age of 60 that says a lot!!). Keep us posted. ( Paracletedesigns@gmail.com.)
Look at you! You're killing it AGAIN! I love how you just jump in and take care of business!
I am in awe....you amaze...what courage
and determination... and skill... I am
saving this wonderful entry for inspiration.
Wow, you go girl!
Guess what?! Someone is giving me a FREE 301A! Mine is black and needs TLC. I'm thinking if you could do this, I can too :)
Wow,That is gorgeous. Can you share what degreaser you used? I'd love to clean /restore one but I am not familiar with which products to use. Any suggestions would be greatly appreciated.
Post a Comment